7.10.2014
Cauliflower Soup
One of my favorite favorite favorite soups to make is cauliflower soup. The flavor is light, so it's ideal before almost any meal, but the texture is so thick and creamy you would swear there's dairy in it (spoiler alert: there isn't). It's quick to whip up, absolutely loaded with vitamin C to help keep you from getting sick, AND has 16g of protein to keep you full. This particular recipe is based on one of my favorite cookbooks "Essential Pepin," and you absolutely must give it a try if you're in the market for a guilt free soup recipe.
Cauliflower Soup
Serves 6
2 tbsp Canola Oil
2 C sliced onions
2 tbsp all purpose flour
1 tsp curry powder
2 C low salt chicken broth
2 C Water
1 tsp salt
1/2 tsp fresh ground black pepper
1 large or 2 small heads cauliflower, cored, separated into florets, and trimmed
2 tbsp unsalted butter
1) Add oil to a large saucepan, when it is hot saute the onions for 2-3 minutes
2) Sprinkle with flour and curry powder, then mix well
3) Stir in the chicken broth, water, salt, and pepper, mix well, then bring to a boil.
4) Add cauliflower, return to a boil, cover, reduce heat to very low, and boil gently for 30 mintues
5) Use a submersion blender (or pouring the soup into a food processor), puree with the butter
6) You should have 7 C of soup, if you have less, add enough water to bring it up to this level
7) Be sure soup is heated throughout, and then serve!
9.06.2013
Green Mountain Girls Farm
Just
a hop skip and a jump down the street from my parent’s house, is one of my
absolute favorite places in Vermont – The Green Mountain Girls Farm.
The
“girls” are Mari and Laura. In previous lives
they worked in conservation and non profits, but since 2007 they have been running
the most picturesque farm of all time.
From
the red farmhouse inn on the hill, to the colorful hand painted signs demarcating
organic herbs, the whole farm seems as though it sprang to life out of a city
girl’s country day dreams.
Everything
is organic and sustainably grown, and if you’re lucky, Mari will take you to
visit the pigs wherever they may be snorting around that day.
“Humane”
doesn’t do justice to describe the way the girls raise their meat. As we walked
down the hill, all of the pigs came running over to the fence to say hi and
Mari introduced me to them one by one and by name.
It’s unusual for farmer’s to name animals that are destined for food
because it forces them to become more attached, but it’s exemplary of how the
entire farm is run.
The
pigs are loved. The chickens aren’t just “free range” they’re “free to go
wherever they want and fly around and do happy little chicken things in an area
that’s probably bigger than your backyard.”
Everything
at the girls farm is done with care, and you can tell when you taste their
food.
The farm stand is routinely stocked with meats, goats milk,
and a huge supply of seasonal produce, so be sure to stop by next time you’re
in the area.
923 Loop Road
Northfield, Vt
05663
9.05.2013
Watermelon Salad
There’s just something about watermelon that is straight up
fun. Maybe it’s because you never feel like a grown up when you eat it. If you give me a slice of watermelon, I'm 6 years old again. It is by far the
best way to escape lame adult conversation that’s happening over post-dinner
coffee (Sticky watermelon hands? Please do NOT bring those near my shirt!), and
made for some fantastic contests with my sister Meg. Our favorites were probably the official “Who
can spit a watermelon seed the furthest” (always her), and the unofficial “Who
can accidentally get the messiest while eating” (me by a landslide). As a 25 year old, I’m supposed to care about
things like “staying clean” and “not eating with my fingers,” so today I have a
watermelon salad recipe that you can eat with a fork. I know it sounds a little crazy to mix red
onion, feta, and watermelon, but trust me, even with all those sophisticated flavor profiles your inner kindergartner will still be pleased.
…and if you eat it with your fingers I won’t tell Mom and
Dad.
Watermelon Salad
1 Medium Watermelon, cubed or balled
1/2 Red onion, thinly sliced
2 sprigs of fresh mint leaves, chiffonade
1 C sliced black olives
Juice from 1 lime
3oz crumbled feta
2 tbsp olive oil
Ground black pepper to taste
1) Mix it all together and do a little dance because your salad is so yummy
9.04.2013
My Best Friend's Wedding
(Left to Right: Morgan, Sarah, Tessa, Katie, and me!)
Last week, one of my very best friends in the whole world was the first of our little high school group to get married. The forecast was originally thunderstorms but at the last minute the Vermont weather gods smiled, and the day became the most perfect 75 degrees with sunshine. You couldn't have asked for a more beautiful day or a more beautiful couple. I love you so much, Tessa, and I am so so happy for you and Rene!
Tessa grew every single one of the gorgeous flowers in the wedding herself
8.22.2013
The Great State of Vermont Will not Apologize for It's Cheese
Have you seen "Thank You for Smoking?" If not, see it immediately. This is *actually* how all Vermonters feel about our cheddar:
http://www.youtube.com/watch?v=GcvVhD5X3f0
Growing up in a dairy state like Vermont, there are few phrases in the English language that make my hair curl the way "reduced fat cheddar" does. Runners up would probably be "processed cheese food" and "frozen dessert" in place of ice cream. So when I set out to satisfy my ridiculous macaroni and cheese craving in a more healthy way, the cheese was non-negotiable. The noodles on the other hand, are really just a vehicle to transport cheese sauce to my mouth. I don't know about you, but I am not in the business of wasting empty calories on bland vehicles. Pinterest swore to me substituting spaghetti squash was a brilliant idea, and shockingly (seriously. this sounded like an awful idea), they were right! I also substituted greek yogurt for the heavier milk and butter I usually use, and ultimately cut the calories down to about 263 per serving! During baking the squash creates some liquid, rather than absorbing the way pasta does, so the sauce ends up thinner than the classic bechamel, but all in all this was freaking DELICIOUS. Guilt free mac and cheese, I will probably be eating you weekly.
Guilt Free Macaroni and Cheese
Makes 5 Servings
1 large Spaghetti Squash
1 tbsp butter
1/2 Vidalia Onion
2 cloves Garlic, minced
8 oz Sharp (Vermont!) Cheddar, grated
1/4 C Water
1/2 C Plain Low Fat Greek Yogurt
1 Pint Cherry Tomatoes, cut in half (optional)
1 Cup peas (optional)
1/4 tsp Dijon Mustard
1/4 C Bread Crumbs
1/4 C Grated Parmesan
Dash of Worcestershire sauce
Dash of Cayenne Pepper
Salt and Pepper to taste
1) Preheat oven to 425
2) Cut squash in half and scoop out seeds. Place squash (hollow side down) in a microwave safe dish with about 1cm of water in the bottom.
3) Microwave until tender (mine took about 11 minutes for each half). Be sure the squash is *really* tender, it won't cook much more after this point and no one wants it crunchy.
4) When squash is cooked, use a fork to scrape out the flesh out of the inside - it should come out in strings that look just like spaghetti
5) In a heavy bottom sauce pan, saute the onion and garlic in 1 tbsp butter over medium heat until onions are translucent. Add Cheddar and 1/4 C water, stirring constantly until the cheese is melted.
6) Add the greek yogurt, mustard, Worcestershire sauce, salt, and pepper, and stir until incorporated. Remove from heat. I have a weird dislike for onion chunks, and at this point I also used an immersion blender to make the sauce completely smooth.
7) Combine sauce with spaghetti squash (and tomatoes and peas if desired), transfer this to a large baking dish. Combine bread crumbs with Parmesan cheese, and sprinkle all over the top of the pasta.
8) Bake for 30 minutes, or until topping becomes a golden brown, and serve!
http://www.youtube.com/watch?v=GcvVhD5X3f0
Per Serving: 263 Calories, 6g Protein, 2g Fat
8.21.2013
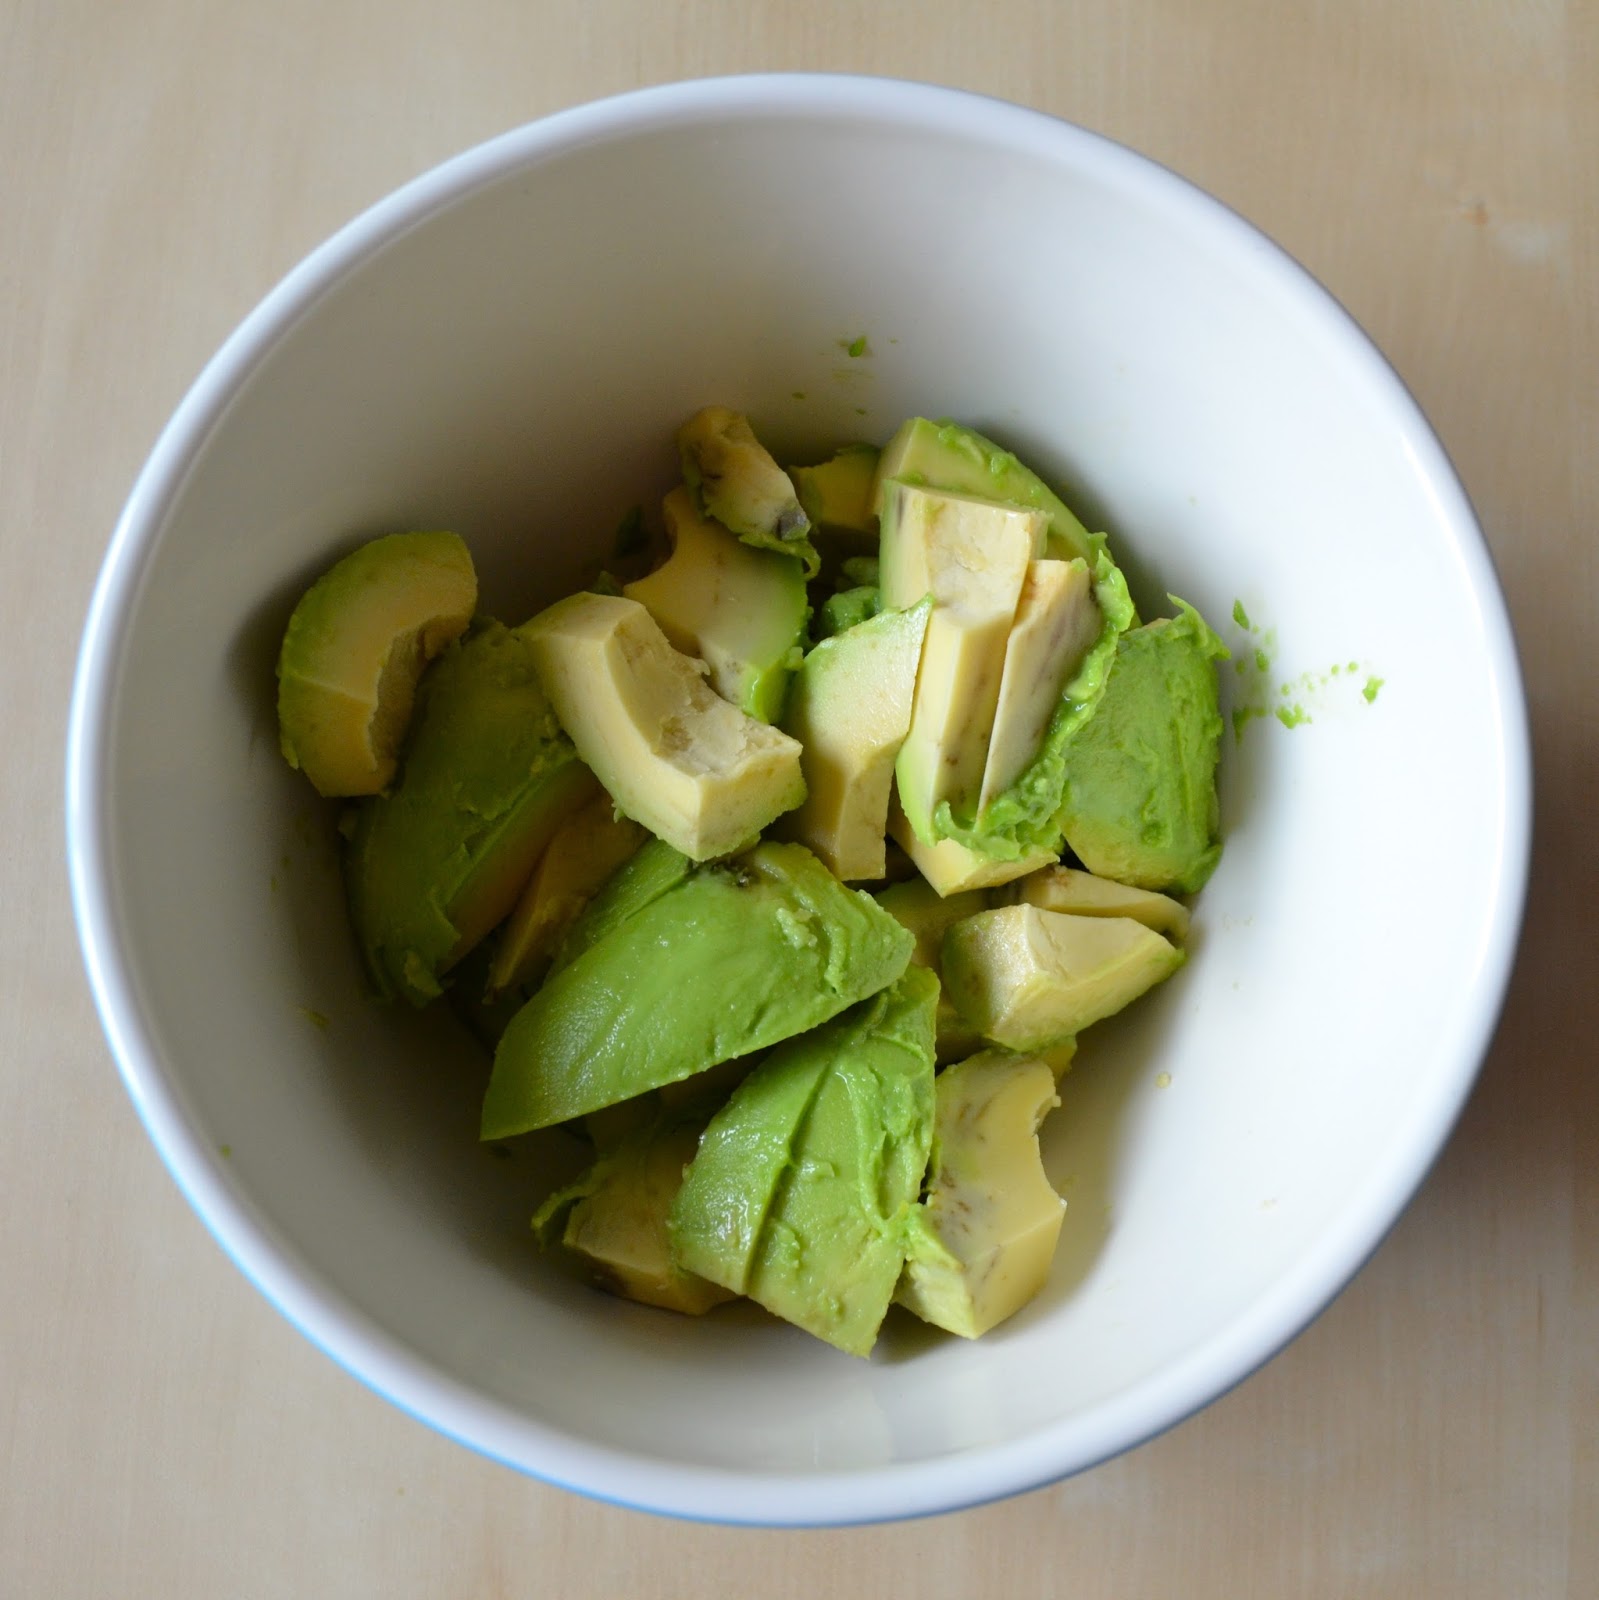
Easy Guacamole
I have to tell you a story about the time I studied abroad in Mexico. It was a hot September afternoon, and my friends and I decided to take a side trip to see the Aztec ruins. We'd been touristing all day, and I was tired, sweaty, and in need of a break. I told my friends to carry on without me, and sat down on a shady patch of grass to drink some water and relax. A few minutes later, a fellow tourist came and sat next to me. He was a handsome man in his mid 40s with salt and pepper hair and a mustache to put all the hipsters in Brooklyn to shame.
Want some sunscreen? He offered me the bottle he was slathering on his nose.
No, thanks! I actually reapplied a few minutes ago.
Ah, good. I just figured we gringo's have to stick together! He chuckled to himself.
The two of us sat and chatted in this shady patch of grass. His name was Paul, and he was an actor back in the states. We talked about movies and cars and, eventually, we began to talk about food. I learned that Paul, in addition to his other talents, was somewhat of a chef.
I make a lot of sauces, he said, my marinara is pretty famous, but I also really like making salsas, salad dressings, you know, stuff like that.
Oh ya? I'd love to try them sometime! I've been struggling to come up with a salsa recipe for a while.
Well that's the secret to great guacamole you know. To make great guacamole you have to make great salsa.
And then, my friends, he gifted me with the most amazing guacamole recipe of all time. The secret, is in the salsa.
-Recipe after the jump-
8.17.2013
Strip Tease
just kidding I am.
A while back I was gifted this little number (read: my roommate moved out and left it behind), and I absolutely love it except for one itty bitty detail. It's black.
Now I have nothing against dark furniture, it's great for some people, but I am just not a black bedroom dresser kind of gal. In addition to being black, the paint on this guy had a shiny finish that thwarted all of my attempts to paint over it. If I wanted to keep the dresser, my only option was to refinish.
Like any good millenial, I trusted that the google gods could teach me how to refinish like a pro, and you know what I discovered? There is not one decent "how-to" for this on the interwebs. Not one. So I *gasp* went to the library, read some stuff, and now I'm here rectifying this awful internet wrong.
Hey! Google! This is how you refinish things!
It's definitely a project that will take some time, but it's weirdly meditative and the results are absolutely worth it. So pick a piece of furniture you like (preferably in an awful color), grab some stripper, and cue that Genuwine.
Like any good millenial, I trusted that the google gods could teach me how to refinish like a pro, and you know what I discovered? There is not one decent "how-to" for this on the interwebs. Not one. So I *gasp* went to the library, read some stuff, and now I'm here rectifying this awful internet wrong.
Hey! Google! This is how you refinish things!
It's definitely a project that will take some time, but it's weirdly meditative and the results are absolutely worth it. So pick a piece of furniture you like (preferably in an awful color), grab some stripper, and cue that Genuwine.
Step one: Assemble everything you’re going to need.
- paint stripper
- turpentine
- a flat edge scraper (something like an old spatula or spreading tool)
- Paintbrush
- Empty paint can
- Old rags
- Sand paper
- Swiffer pads
- Your favorite paint
- rubber gloves (the heaviest duty you can find)
- Long sleeves and pants you don’t mind destroying
- Eye protection
Step two: Remove hardware and move the dresser to a well ventilated area
Keep the hardware all together with screws etc. so nothing gets lost in this process (it’ll be a few days before you can put it back on)
Ideally you want to do this outside. Stripping chemicals smell to HIGH HEAVEN and you don’t want to breathe those fumes for any longer than you have to. If you care at all about the surface you’re stripping on, be sure to use protective covering on the ground….this gets MESSY
Conveniently for me, my porch already isn't in the most beautiful condition, so I felt confident I could get away with just a few pizza boxes underneath…you should probably use something bigger.
Step three: Put on your safety gear
These chemicals are Nasty (capital N) and you do not want their carcinogenic, smelly, and corrosive selves getting onto you. The stripper will literally eat through paint and it will also literally eat through your jeans. Cover up!!! AND all this protective equipment is a good second use for those chemistry goggles from college you never threw away!
Step four: Cue the Marvin Gaye and start stripping!!!
Lay the furniture piece horizontally with the first side you’re going to strip facing up. Spread a thick layer of stripper on with the old paintbrush. This is not the time to be stingy, put on as much stripper as you think is enough, and then add some more. It’s best to do this in an area less than 3′x3′ so the fumes stay at a minimum, but if you’re outside or wearing a charcoal filter mask you can get away with a little more surface area at a time. Let the stripper sit on the furniture for at least 20 minutes. Don’t touch it, don’t look at it, don’t think about it. Go inside and have yourself a nice glass ‘o lemonade. When you come back out, like magic, the paint should be blistering up
Use the scraper or old spatula to *gently* remove the paint. It should slide off very easily. If not, apply more stripper and wait longer. The edges of the spatula can easily cause scratches to the softened wood, so be careful not to press too hard.
Collect the paint/stripper sludge in the empty paint can, then continue to the next section, repeating until the whole piece is stripped of paint.
Step five: Turpentine!
Most strippers leave behind a waxy residue you may not immediately notice that will stop the new paint from clinging to the wood. To get rid of the residue, apply some turpentine to a clean old rag, and gently wipe down the freshly stripped piece. The turpentine will also help to eliminate any small bits of paint left clinging to the wood. Because you’re removing the waxy build up, switch the section of rag frequently so it is still effective.
Step six: Wait.
Put the piece in a well ventilated area, and allow it to dry COMPLETELY. This will take at least 24 hours, although leaving it longer never hurt anyone. Bare wood absorbs water like craaaaazy so be sure where ever you leave it is dry, and the piece won’t get, for example, rained on.
Step seven: Dispose of the sludge
Fun fact: paint stripper sludge can spontaneously combust
Fo realz. Set the paint can full of sludge in a *cool* well ventilated area and allow it to dry out completely. Only once dry, put the lid on the paint can, and then call your local waste disposal to find out how to dispose of it properly (you can’t just throw it out with your regular trash).
Step eight: Sand
To get this beauty in tip top shape before painting, sand her down to get rid of any last remaining paint, and any ridges that may have been caused by your spatula scraping. While you’re at it, go ahead and give her a name. You two have spent a lot of time together, and now you’ve seen her naked. It’s only fair.
Step nine: Wipe off the dust
Use a swiffer pad to gently wipe all the dust off the newly sanded piece so the paint can stick properly. Do this a few times, you’ll be surprised how much comes off
Step 10: Paint!!!
8.15.2013
Summer Orzo with Basil Pesto
All of the tell-tale signs of autumn are ever so slightly starting to appear. It's not quite light out when I wake up, the morning walk to my car is getting a little too brisk to be sleeveless, and many of my favorite summer food prices at the supermarket are beginning to drift back up (why can't we just have $2.50 pineapples forever??). I love love love fall, but I'm not sure I'm ready yet to say good-bye to long days and abundant sunshine.
When summer nostalgia hits, the only thing to make is pesto. There is nothing more summery than fresh basil. It's like those bright little leaves have stored up all the flavors of sunshine and are just waiting to burst out into a party on your tongue. This particular pesto is very easy to make and, tossed with an assortment of summer foods, was the perfect dinner to remind me that warm days are still here.
Side note: Patrick would like me to inform all of you that this is "So so good. Want more in my belly. Now." ...So there's an endorsement for 'ya.
-Recipe after the jump-
8.14.2013
Wine Crate Shelves DIY
This is actually a DIY from a while ago, but I have gotten SO many compliments on it I thought I'd post a how-to in case you'd like to try it at home!
Back before I started living solo, I had three of the absolute best roommates a girl could ask for. We shared shoe sizes, we shared clothing sizes, and perhaps most importantly, we shared a similar interior design aesthetic. Trust me, this is imperative when 4 girls are trying to decorate an apartment together. After we graduated college, we moved to a new big girl apartment, and launched an initiative I like to call, "Pottery barn chic on a student loan budget." We wanted to look like grown ups living some sort of utopian "Friend's" lifestyle, but we absolutely did not have the money to fund it. So what did we do? We DIY-ed. A lot. Well, specifically my roommate Becca DIY-ed a lot because she is by far the most artistic.
This particular DIY was born after I saw some similar shelves on an interior design website. I brought the idea to Becca and, of course, she knew exactly how to make it happen.
How-To Wine Crate Shelves
1) Contact a local wine shop to ask for any spare crates they may have lying around. Apparently only really expensive wines are still shipped in crates, so there were only a few available (good thing we didn’t want franzia crates anyway). BONUS: the crates are essentially trash to the wine shop, so they're free!
2) Clean the crates and then stained them with a light wood stain, let them dry overnight
4) Decide on a layout for your crates. You really only get one chance with the wall, so be sure you know how you'd like them arranged before you move on to the next step.
Total cost: <$30
Total apartment impact: $9,834,209
*In addition to wine crate shelves, Becca has many other design talents. If you'd like to see her work, you can check out her website here
7.18.2013
Marathon Monday
I wasn't going to write about the marathon. It's
not the topic of my blog, and frankly it's still so fresh I didn't think I
could. This Rolling Stone cover changed my mind. It makes me sick
to think I'm giving them more publicity, but it's so offensive that I just
can't sit quietly and let it pass me by.
If you've never celebrated a Marathon Monday it's hard to
explain why exactly it's so important to us. Even writing this, if you’ve
never been I’m not sure you can understand. The city shuts down around the
marathon. People take off of work, colleges cancel class, and the entire
city convenes along the race route. It is the single biggest event we
have all year, and the excitement around it is like Christmas mixed with the
superbowl and then topped off with the 4th of July. We wake up early, eat good
breakfasts, and track progress on TV until that first runner starts to get
close. The second that first runner comes within the city limits we grab snacks
and camelbacks and bolt down to the route to scream our heads off. We
cheer for hours. It doesn't matter who it is, we cheer. American, Kenyan,
Canadian, French, we cheer. Black, White, Hispanic, Asian, we cheer.
We cheer for the runners, the walkers, hell, we even cheer for the cops
working the event. We cheer because every time a person crosses the finish line
it's a victory. They may be running for a personal best, for cancer
research, or even to push their disabled son a full 26.2 miles, but everyone is
“winning” at the marathon. As a city we hope that everyone reaches their
goal. It is perhaps one of the few times
that there are no teams or “us” versus “them.” We are all on the same team, one
human race, one Boston.
I was at grad school when I heard that some sick sick
individuals had attempted to break this unity. A girl sitting next to me
in the student lounge started screaming as she saw the first twitter photo of
the carnage at the finish line, and realized her fiancé was there. The
two of us watched in horror as the events unfolded, and tried desperately to
get in touch with everyone we know. After an hour she did finally get on
the phone with him, but the questions “are you ok? Are you in one piece?” took
on a horrifically literal connotation.
I didn’t go home that night. My best friend
insisted that Pat and I stay with her in a suburb while these psychos were on
the loose. We ate dinner and made nervous jokes, but all the while CNN
was running in the background. We
watched the videos over, and over, and over again. When I finally did go
home, the city looked like a post apocalyptic wasteland. The actual
lockdown hadn’t begun, but no one wanted to be outside. The normal buzz
of the city fell silent, and cops outnumbered civilians on every street.
I had to walk past no fewer than 10 cops armed with assault rifles to get into
my apartment complex, and while this should have made me feel safe, it only
made me feel less at ease. I’m sure you’re familiar with the story,
but in the days that followed the city went into lockdown. We watched
transfixed as the most incredible acts of fate, or God, led to the arrest of
Dzhokhar Tsarnaev. Endless discussions were had about what would have
happened if the men had gone to a different gas station, if the holdup had
never happened, if that gas station’s credit card reader had just been working,
or if that Watertown resident hadn’t gone out to check his boat. But all
of those things DID happen, and we got him.
Then the most incredible thing happened. Despite
the bombers’ best efforts to break us, we did manage to hold on to the hope and
spirit of the marathon. After the man hunt the faces of the bombers could
have been plastered over the city to fuel revenge and hate, but instead the
face of Jeff Bauman took center stage. We chose to see the strength of the survivor who identified the bombers to the FBI, and he became a symbol of hope
that we, as a city, could recover. When I think about the marathon
bombings, the bomber’s faces don’t stare at me with blank emotionless
eyes. I think of Jeff Bauman *walking* with his two prosthetic legs on
the ice at the Stanley cup finals. I think of my friend Mike reporting
from the scene about people running in to help the injured. I think about
the "Boston Strong" campaign and the incredible sense of unity there
was in the city. I think of the positive things that happened, and it
gives me hope that the good vastly outweighs the bad.
The tiny triumph in this tragedy is that the faces of the
bombers seemed destined for obscurity. By choosing to focus on the
survivors, we were choosing not to let the bombers live on in infamy. Now, the
August issue of Rolling Stone is taking away that choice. Looking out at
us from every news stand and supermarket checkout line will be the slightly
grainy image of a tousled haired teenager who looks more like a rock star than
a mass murderer. It’s not ok. It’s not ok to paint the bomber as an angel who
fell from grace, and it is certainly not ok to hijack our pain for magazine
sales. I hope the entire state of Massachusetts refuses to pick up your
August issue, Rolling Stone. I promise I
will never buy any of your magazines again.
7.17.2013
The Plan
-photo via google image -
I talk a fair amount about juicing. As a matter of fact, I can't shut up about juicing. It's not my fault! When something changes how my body feels so drastically in just 6 days what am I supposed to do? NOT tell anyone about it? Not run around (literally) singing it's praises? You're telling me life ISN'T a musical? I think my bathroom mirror and hairbrush pretty firmly disagree with you on that last one.
My point is, since I began rambling day and night about the benefits of juicing, I've gotten a fair amount of questions. Most of the questions are the same, so I've put together the complete juicing plan that I used, followed by answers to the most common questions I've received!
-after the jump-
Juice Plan
Tips:
-Try to eat healthy for a few days before you begin juicing. If you celebrate the night before your juice cleanse with a big 'ole steak you will regret it come day 1!
-I made all of my juices the night before, and then carried them with me all day in a lunch box. They should be good for up to 6 days after you make them, but I would still recommend making them fresh daily.
-I drank my juices roughly two hours apart, but if this doesn't work for you you can drink them at whatever time interval you prefer. The only thing that does matter is the order in which you drink them.
-Do your very very best not to drink anything caffeinated. You are welcome to have as much water and (decaf) herbal tea as you like!
-Your poop may turn red from the beets. Be prepared for this. It's kind of terrifying for a minute.
-I feel like this goes without saying when you're not eating solid food, but try not to drink alcohol during the cleanse. It won't be fun.
Juices and order (click for recipe):
1) Green Juice
2) P.A.M.
3) Green Juice
5) C.A.B.
6) Cashew milk
Grocery List:
Per Day
10 ribs of celery
1 cucumber
7 green apples
6 kale leaves
2.5 oz lemon juice
3-4 lemons
2 handful parsley
6 romaine leaves
2 big handfuls of spinach
1/2 pineapple
2 beets
3 large carrots
1.5 tbsp ginger root
5 oz raw cashews
Mint ( a few pinches)
Cayenne pepper
2 tbsp agave
1 tsp ground cinnamon
Vanilla extract
Finishing your cleanse:
Don't reach straight for that Ben and Jerry's! You want to slowly re-introduce whole foods in a way your body can handle without freaking out.
Day 1 post cleanse: Eat whole fruits and veggies
Day 2 post cleanse: Fruits and veggies and also light starches and whole grains
Day 3 post cleanse: Bring back lean proteins
After: You can eat whatever you want, but be gentle with dairy and alcohol. They're both pretty hard on your digestive system so don't go too crazy right off the bat.
FAQ
1) What Juicer do you have?
-I have the Breville JE98XL
;and I cannot say enough about it. I love love love my juicer!
2) Were you hungry?
-Nope! The first day is a bit of an adjustment because you don't chew anything, but I was never hungry.
3) How much does it cost?
-For ingredients (about 90% of which I purchased organic) I spent a little under $20 per day
4) Doesn't this make you poop like crazy?
-There's no tip-toeing around this one. For me? No. I was...eh hem....normal for the duration of the cleanse. However, this may happen to you, and it is also completely normal.
5) How long did you juice for?
-I consumed nothing but juice for 6 days. Please talk to your doctor before undergoing any sort of drastic diet or exercise change! I am by no means a doctor, and I am 100% not qualified to tell you what to do!
6) Can you exercise while juicing?
-Absolutely! It's likely you'll have tons of energy while juicing and there is no reason not to utilize it!
6.28.2013
Make it Spicaaaay
Day 4 is here and I am still juicing! The final two juice recipes I have for you to round out this juice cleanse aren't actually made using the juicer at all. The first one is a spicy lemonade that is very very similar to the one used in the "lemonade cleanse," and the second is a super creamy delicious cashew milk. The lemonade tastes like...well....lemonade, and this cashew milk is a creamy, cinnamon-ey, sweet yet not mixture of wonderfulness. It's the last juice of the day, and granted I may be delusional from lack of solid food, but I swear it is just to die for.
-both recipes after the jump-
6.27.2013
Carrots and Apples and Beets, Oh My!
I know I said I was only going to juice for 3 days, but I think I'm actually going to extend it to 5.....or 7. I just feel amazing! If juicing is a cult then hand me some (raw) kool-aid because I am ready to join. In just two days my skin is noticeably becoming more even and bright, I have an absurd amount of energy, I've been sleeping incredibly well,* I actually woke up this morning craving green juice, and my body just feels "good." No, not good, it feels great. It feels great and also all other positive adjective words that could describe how a body feels.
Here I give you the absolutely most beautiful juice you will ever drink your life. The beet juice is a deep magenta, the carrot is a vibrant orange, and I just love to watch them swirl together in all of their pigmented glory.
-Recipe after the jump-
6.26.2013
Who Lives in a Pineapple Under the Sea?
(I couldn't help it - for some reason I've had the Spongebob theme song stuck in my head all morning)
Good morning, day 2!
This whole juicing thing is WAY easier than I imagined it would be. The juices are delicious and, astonishingly, I'm not hungry at all! I did a lot of research before starting my cleanse, and one of the things people seem to find the most difficult are the "detox" symptoms. These happen because your body is used to getting certain toxins and other junk from the processed food you eat, so when you eliminate those foods, your body goes through something resembling withdrawal. I was fully prepared to be launched into headaches, fatigue, diarrhea (ya I said it...we were all thinking it), nausea, and whatever else unpleasant came my way, but I haven't really had any of it! I had one tiny little itty bitty headache last night that lasted for about 15 minutes - that was it! Quick! Someone please knock on wood!
The recipe I have for you today is the second juice of the day, and by far my favorite. It is sweetest freshest pineapple juice you have ever tasted in your life with just a little bit of minty kick.
-recipe after the jump-
6.25.2013
Drinking The Green Monster
It's 5:30 am on day 1 guys and I just cranked out some impressive juice! The staple juice of the cleanse is a green juice, loaded with leafy greens, that you drink twice throughout the day. The "renovation" cleanse that I'm doing is sort of the training wheels of cleanses to try things out. If you do the more intense extreme cleansing (quick brainstorm: can we make this a competitive sport somehow?) you drink even more of the green juice, and less of the fruit juices.
I know this juice looks scary and gross, but honestly it's pretty tasty! The cucumber makes it very refreshing and the apples effectively drown out all the bitterness I imagined it would have from the kale. Dare I say it? I would probably drink this even if I weren't on a juice cleanse!
-Recipe after the jump-
Labels:
blueprint,
celery,
cucumber,
Green apple,
green juice,
juice,
Juice cleanse,
kale,
lemon,
parsley,
romaine,
spinach
Subscribe to:
Posts (Atom)